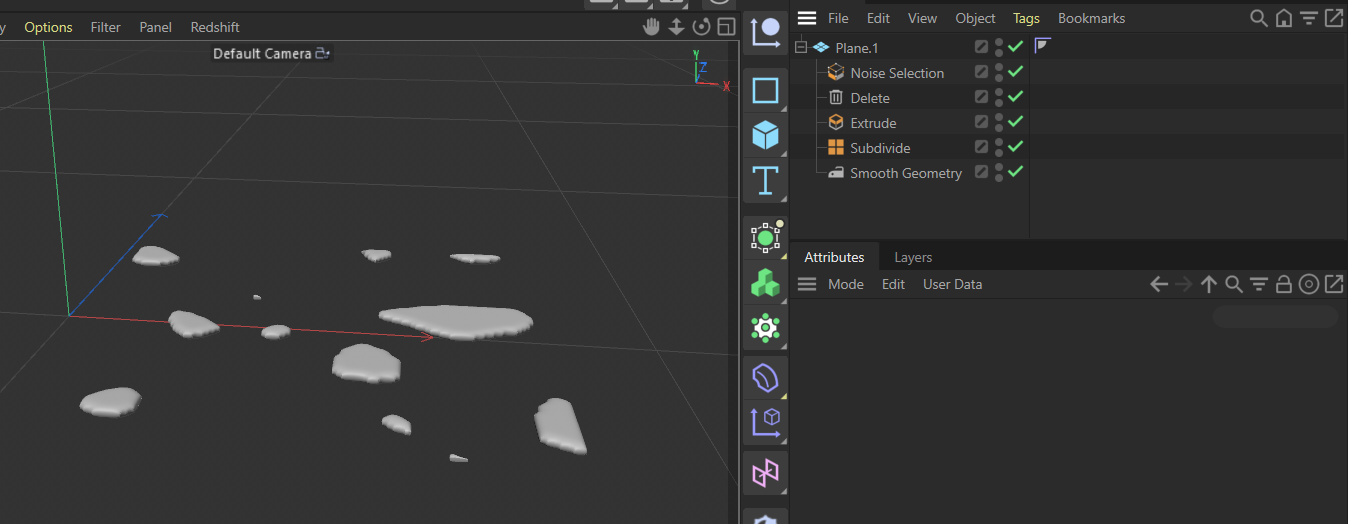
The previous post on modeling with Scene Nodes showed how to use Scene Node based operations in the object manager to create a modeling stack. While this in itself is already a great improvement and addition to the tool set we can easily go one step further.
We can create an identical operation like this by creating an empty Nodes Modifier in the object manager and adding the chain of modeling operations there.
Now we add the exact same operators to the Nodes Modifier and use the exact same parameters.
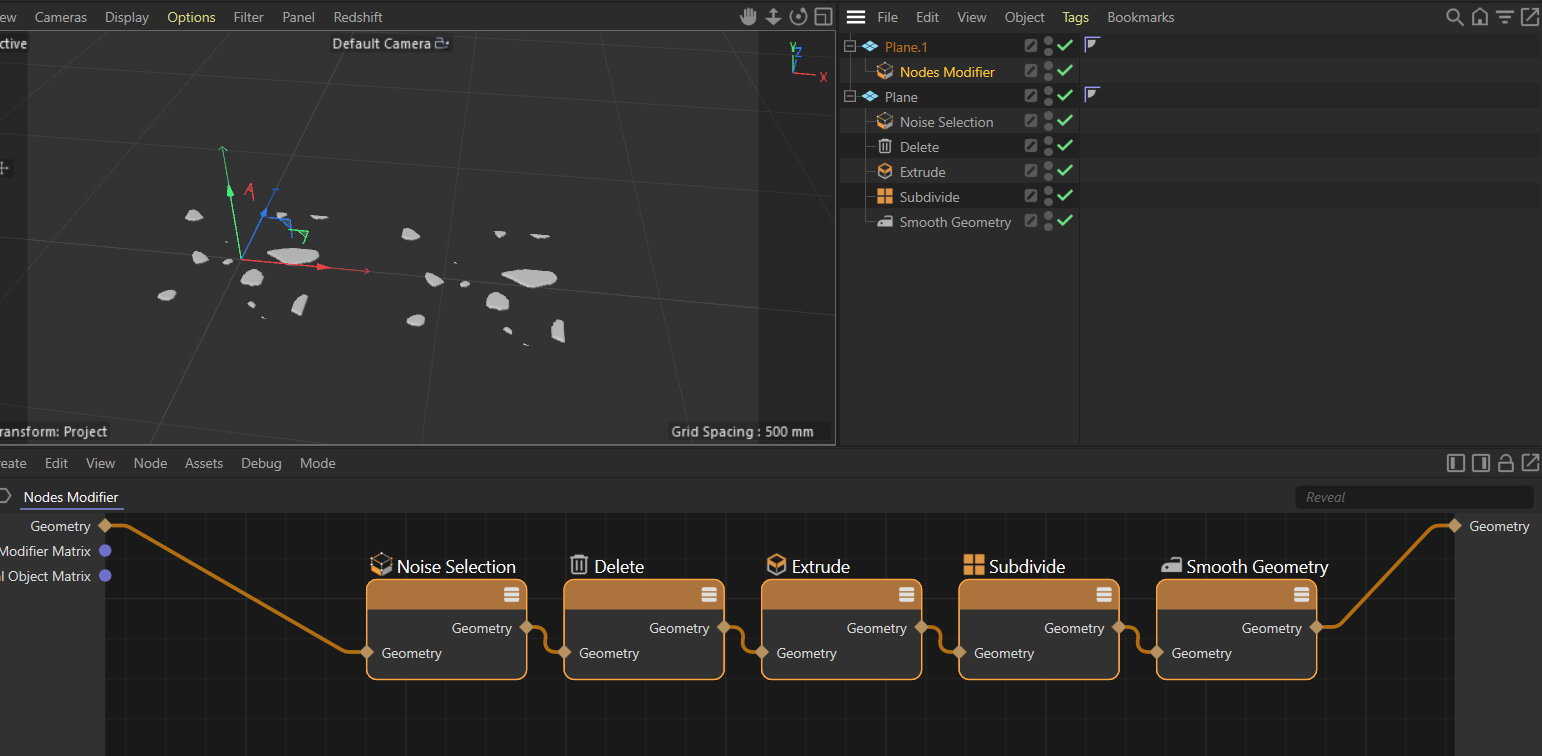
What we get is the exact same modeling result, but this time in a single operator.
Congratulations, you just created your very first asset, a reusable setup that can be applied any number of times with little effort.
Of course this is only a very simple asset, because it will only do a single thing and you can’t change this without entering the setup, selecting one of the nodes inside and changing its parameters, this is not a very good workflow for a tool you want to use many times.
It is however very easy to expose those parameters inside this setup that you want to use to adjust the over all function.
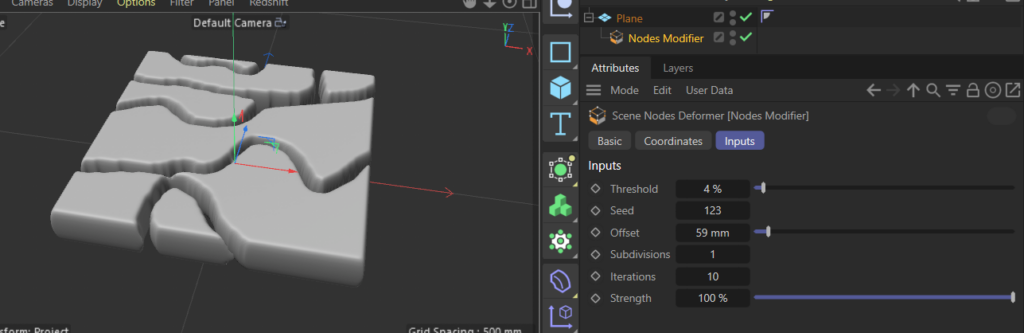
In this example let’s focus on the following parameter
- Noise Selection – Threshold
- Noise Selection – Seed
- Extrude – Offset
- Subdivide – Sundivisions
- Smooth Geometry – Iterations
- Smooth Geometry – Strength
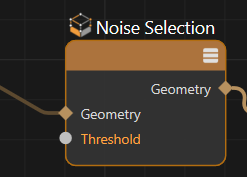
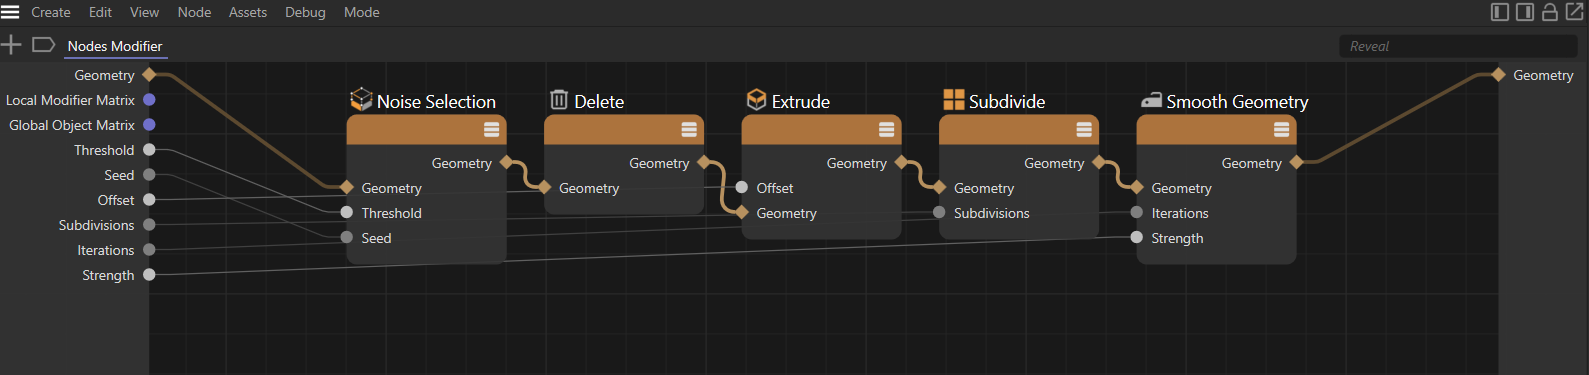
In the Nodes modifier select the Noise Selection node and Ctrl/Cmd+Click on the circle to the right of the name of the Threshold parameter.

This will expose the related port on the left side of the node
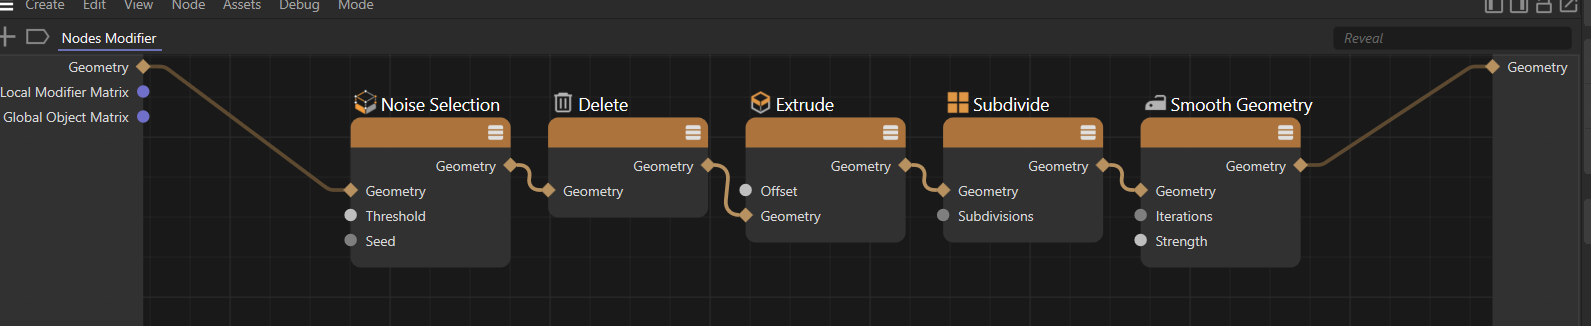
Please do so with the other ports listed above, the result should look like this
By Click + Drag on one of the new ports you can create connections to the input side of the Nodes Modifier, just drop the wire a little bit away from where you dragged it and a requester will pop up that allows you to add this as a new port.
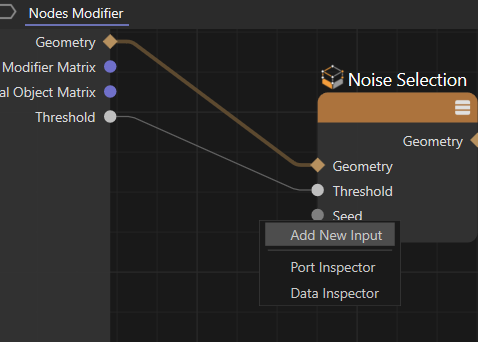
If you do so with all ports the result will look like this
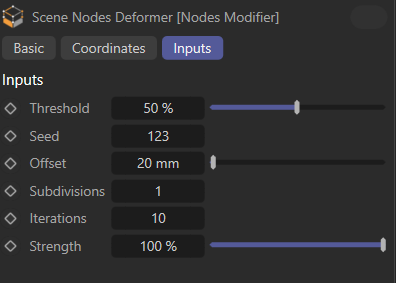
If you now click on the Nodes Modifier and check the attribute manager you will find that you just created an interface for your capsule

If you are not satisfied with this interface, in this case the Offset parameter is placed wrong by default, you can adjust it using the Resource Editor. The Resource Editor is quite similar to the User Data editor, but it can do a lot more.
You can activate it by right clicking in the background of the node editor of your setup and choosing Edit Resource.
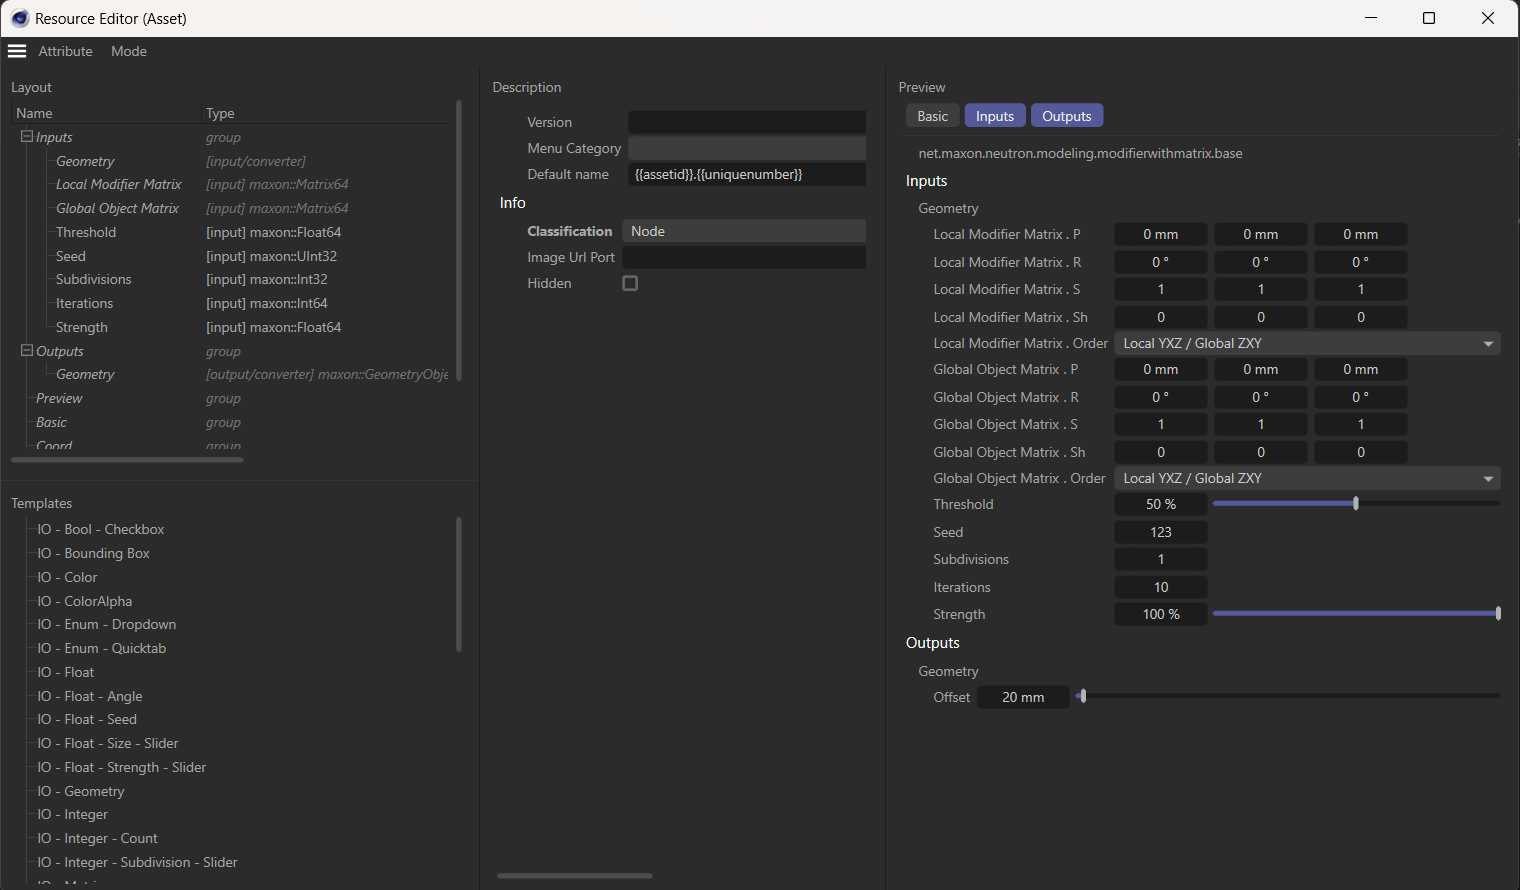
We won’t go into the details of the Resource Editor here but only cover what is needed to give a bit of polish to the UI of the new asset.
The top left shows all parts of the UI in their hierarchical order. As you can see there is one outlier, the Offset from Extrude ended up at the bottom of the list, not with the other parameters. You can simply adjust this by dragging the parameter to its rightful place between Seed and Subdivisions

You can now close the Ressource Editor, the UI of the new capsule is now correct
With the now exposed parameters it is very easy to quickly iterate to find the settings you need
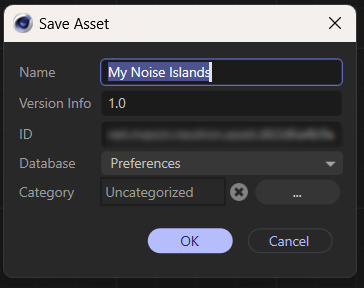
Please give the Nodes Modifier a name that you will recognize again.
Once you have done this please go into the node editor again so you can see your setup.
From the menu choose Assets > Convert to Asset the following dialog will appear.
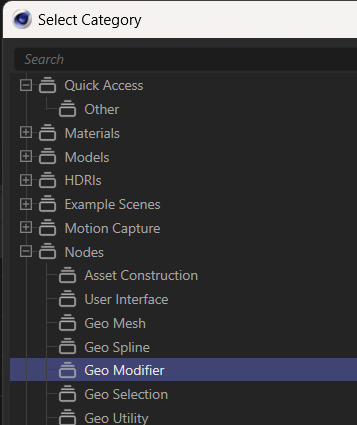
Please choose Nodes > Geo Modifier as a category
Confirm the dialog and you will see your setup in the node editor vanish.
You have successfully created your first real asset that you can now find in the asset browser for reuse!
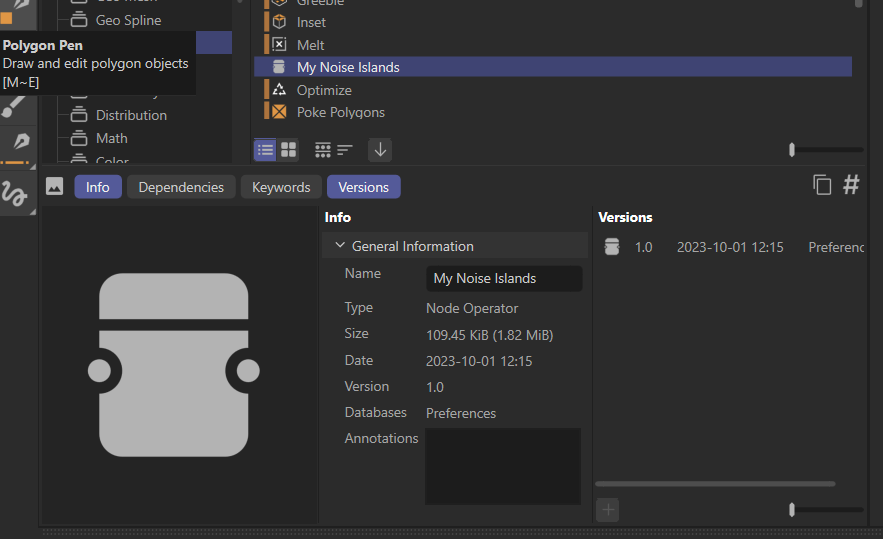
By right clicking on the default icon you can replace it with a preview of your choice.
The new asset is stored within your preferences database, you can copy it to any other database or a scene from the asset browser.